This post is Sponsored by Scotch® Expressions Tape
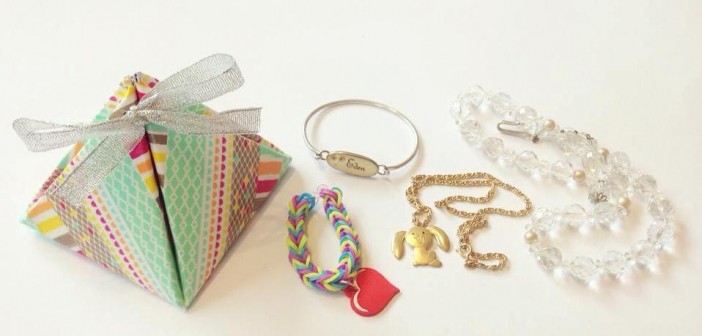
I don’t know about your kids but my kids LOVE to make stuff. As a cute little idea for Mother’s Day we thought we would put together a super easy DIY trinket box tutorial for your kiddos. This makes a great gift for mums and grandmas because I know my kids are always making little trinket things for us.
The simplicity of this box is quite awesome and most kids, with maybe a tiny help from mum or dad, should be able to make this independently.
We have included an A4 printable you can download here which is the template for the box made to size.
Below is a simple tutorial on how you can make this DIY trinket box.

You Will Need:
– A clear working space
– 1 x Foldable Pyramid Box Template you can download here
– 1 x Hole punch
– 1 x A4 Piece of Cardboard
– 1 Piece of ribbon long enough to tie at the top
– 1 x Pair of scissors
– Scotch® Expressions Magic™ Tapes you can purchase from Officeworks and Big W
– Scotch® Expressions Washi Tapes you can purchase from Officeworks Instructions to Make:
– Firstly cut the piece of A4 cardboard down to size to match the outline of printable template.
– Cover one side of the cardboard with Scotch® Expressions Magic™ tape.
– Cover the other side with Scotch® Expressions Washi Tapes. It is a great idea to cover both sides as when you open the box you have a lovely finish both inside and out.
– Once you have covered both sides completely with tape as pictured above place the template on top of the covered cardboard. – Cut around the template on both the template and cardboard. (Note: your child may need a little help doing this bit, as you have to hold the two pieces of paper together and cut at the same time, which can be tricky for little fingers).
– Once you have cut it out, place the template on top of the covered cardboard and use the template to guide where you need to bend the cardboard to fold.
– Once you have bent all of the cardboard sides you can remove the template.
– Grab your hole punch and gently make a hole at the top of each of the 4 points of the trinket box as pictured above.
– You can now weave some ribbon through the holes in the top of the box.
– Pull the holes tight and make a bow at the top. Feel free to put anything inside the box. Your child might want to make another special Mother’s Day gift they can pop into the box or something precious they want to give to mum or grandma. Even a little note to say this box is for you to put something special in or just simply an I LOVE YOU.
 And it really is that simple!!

