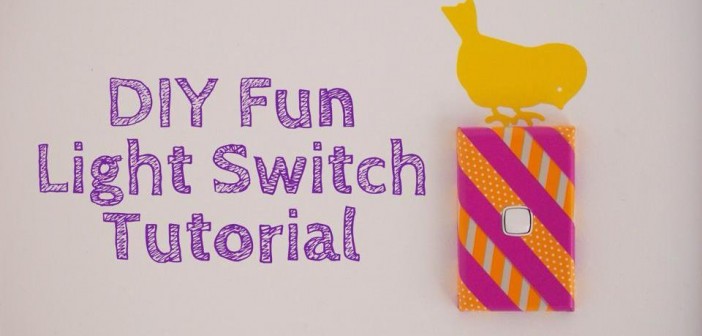
This post is Sponsored by Scotch® Expressions Tape
Room decorating can be an expensive exercise at times however it does not always have to be. I personally love anything that is fun and colourful and so do my girls.
When I saw this idea I thought it was so simple and fun that I just had to give it a go.
Below is a little tutorial I put together of how to do your own fun light switch. Just to note the bird on top of the light switch was already there before I decorated it. It was a wall decal I bought from a market 5 years ago.

You Will Need:
– A clear working space
– 1 x Light switch casing
– 1 x Pair of Scotch® Scissors
– Scotch® Expressions Magic™ Tapes you can purchase from Officeworks and Big W in Australia and Warehouse Stationery in NZ
– Scotch® Expressions Washi Tapes you can purchase from Officeworks in Australia and Warehouse Stationery in NZ

Instructions to Make:
– Firstly you need to remove the outer casing of your light switch off the wall as pictured above.
– Once you have done this wipe it clean and make sure there is no dirt or dust on it.
– Place on the table with top facing up
– Select your desired Scotch Expressions tapes for decorating.
– Apply your first piece of tape diagonally across the light switch case (you can do this in any direction you like) 
– Continue to apply tape until the whole of the light switch case is covered.
-If you are finding corners tricky you can cut diagonally into the corner and fold the tape over as pictured above.
– Once the light switch case is covered with tape turn it over.
– Trim each side of the excess tape and fold it over on the inside of the case creating a nice even finish.

-Cut along the tape from the middle to each of the centre corners as pictured above.
-Fold the tape over to stick on each side of the inner light switch case..
-Turn the light switch over and you are finished decorating.

-Once you have finished you can now put your light switch case back on the light switch to see just how awesome it looks!!!


