At School Mum Central the other day they were laughing at me because of my apparent love affair with paper plate crafts! I argued that I did them because most people have spare paper plates lying around at home and you can make some really cool things, very simply.
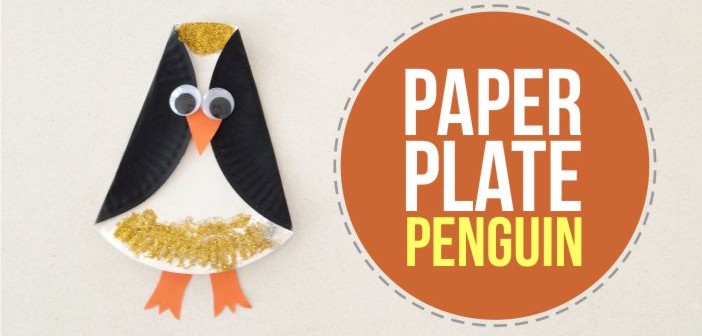
So that being said, here is a paper plate Penguin. It is very cute, super easy and your kids will love to make it in the lead up to Christmas.
You will need:
a paper plate
black paint
paintbrush
glue
google eyes (or some white and black cardstock to make eyes)
orange cardstock
pencil
scissors
glitter (gold or silver works well)
scrap piece of paper
Step One
Fold each side of your paper plate in as shown below. This will form your Penguin’s flippers.

Step Two
Now, place a scrap piece of paper underneath where the flippers fold in – this will stop any black paint getting on the Penguin’s tummy. Paint the flippers black. Once the paint is dry you can remove the scrap piece of paper.

Step Three
Using the orange cardstock, draw and then cut out a triangle shape for the nose and 2 webbed feet. Glue these and the google eyes on.

Step Four
Then add glue to the top and bottom of the penguin and sprinkle on your glitter.


